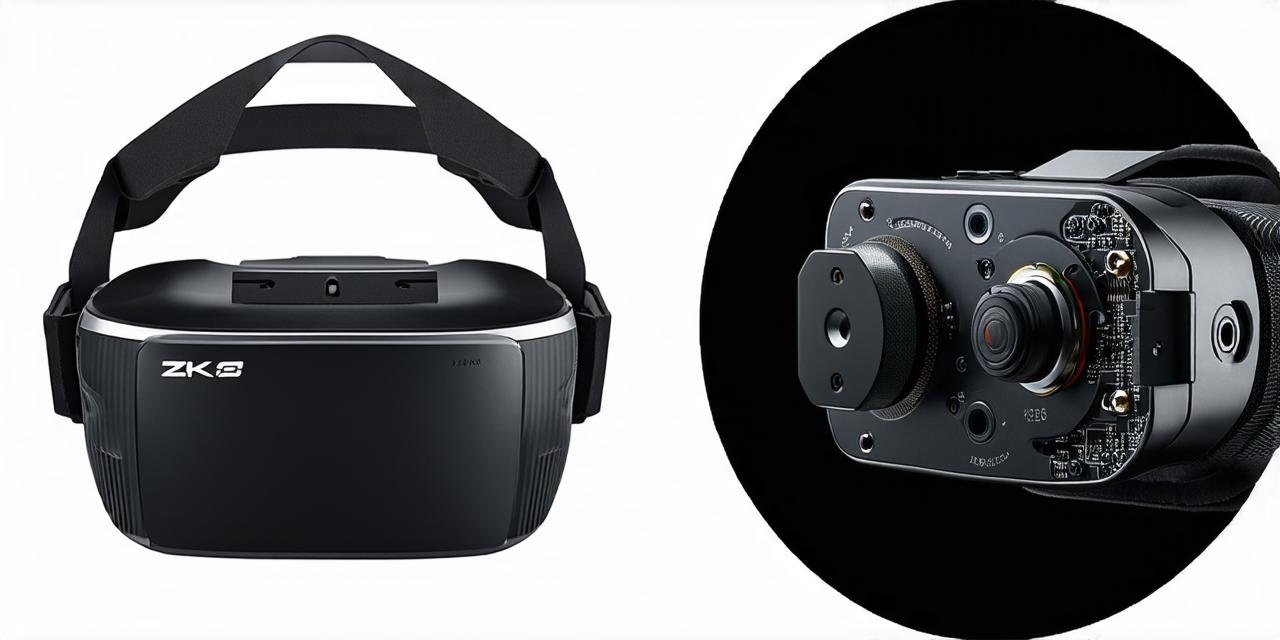
Virtual reality (VR) technology is rapidly advancing, and building your own VR headset can be an exciting and rewarding project for virtual reality developers. In this comprehensive guide, we will explore the steps involved in constructing a VR headset, including the necessary components, assembly process, calibration, and testing. We will also discuss the advantages and disadvantages of building your own VR headset and provide tips on how to optimize your VR experience.
Components Required for a DIY VR Headset
Before we dive into the assembly process, it’s important to understand the components required for a DIY VR headset. The following are the essential components:
- Display: A high-resolution display is crucial for a realistic and immersive VR experience. You can use either an OLED or LCD panel, but keep in mind that an OLED display will provide better color accuracy and contrast.
- Head Tracking Sensor: This sensor tracks the movement of your head and adjusts the image accordingly, creating a seamless and immersive experience. Popular options include the Leap Motion SDK and the HTC Vive Pro Eye tracker.
- Head Mount Display (HMD): The HMD is the device that attaches to your head and displays the VR content. It should be comfortable, lightweight, and adjustable to fit different head sizes.
- Computing Hardware: You will need a powerful computer with a dedicated graphics card to run the VR software. Popular options include the NVIDIA GeForce GTX series and the AMD Radeon series.
- Software: You will need VR software such as Unity or Unreal Engine to create and test your VR application.
Assembly Process
Now that we have all the necessary components, let’s explore the assembly process. The following steps outline the general process involved in building a DIY VR headset:
- Display Mounting: Attach the display to the HMD using screws or adhesive. Make sure the display is secure and centered.
- Head Tracking Sensor Integration: Integrate the head tracking sensor into the HMD. This usually involves attaching wires to the sensor and connecting them to the computing hardware.
- Computing Hardware Installation: Install the computing hardware into a computer case. Connect all necessary cables and power sources.
- Software Setup: Install the VR software on your computer and configure it for your VR headset. This may involve calibrating the sensor and adjusting the display settings.
- Testing: Test your DIY VR headset by running a simple VR application. Make any necessary adjustments to improve the experience.
Advantages of Building Your Own VR Headset
Building your own VR headset has several advantages, including:
- Customization: You can customize your VR headset to suit your specific needs and preferences. This includes selecting components such as display resolution, field of view, and tracking sensors.
- Cost-Effective: Building your own VR headset can be more cost-effective than purchasing a commercial VR headset. You can save money by sourcing components at a lower cost and avoiding the markup of a commercial product.
- Learning Opportunity: Building your own VR headset provides an opportunity to learn about VR hardware and software development. This knowledge can be valuable for virtual reality developers who want to build their own VR applications.
- Unique Experience: A DIY VR headset allows you to create a truly unique experience that sets you apart from others. This can be especially valuable for developers who want to showcase their creativity and innovation.
Disadvantages of Building Your Own VR Headset</
